

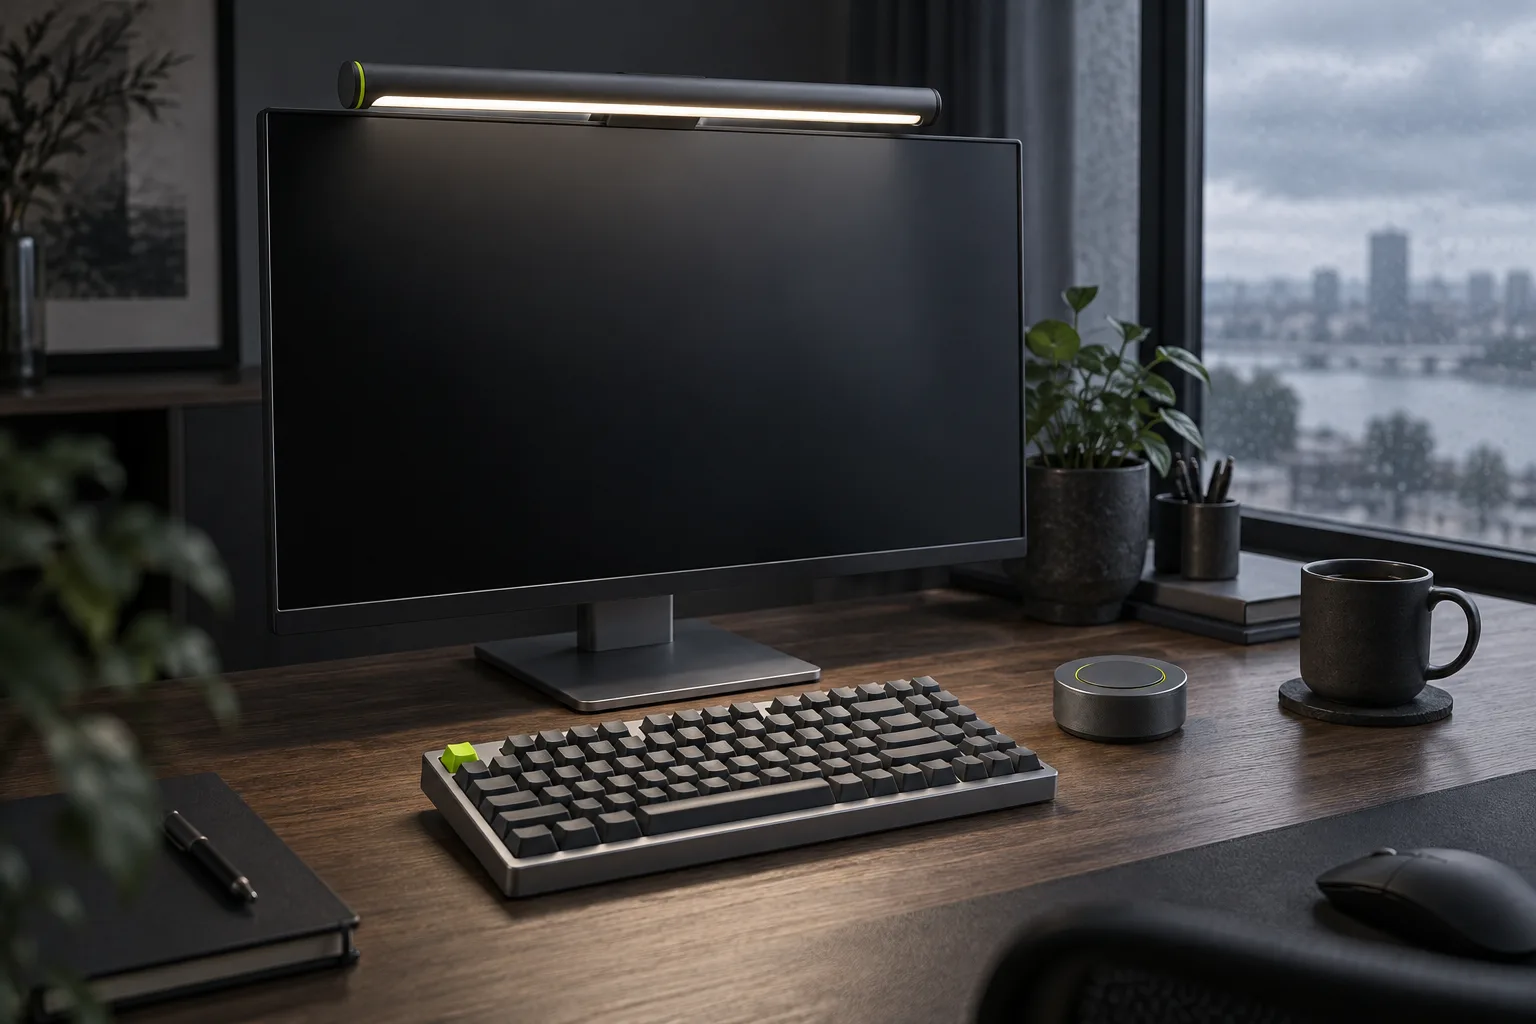
Light, screen height and one cable to the laptop. None of the changes in this guide needs a new desk or a new chair, and together they leave your eyes and neck noticeably less sore by the end of the day.
Most home desks start the same way: a laptop flat on the table, a kitchen pendant or a window for light, and a charger cable stretched across to the nearest outlet. We asked four people on the Voltline team who work from home at least three days a week to keep their usual setup for one week, then make the five changes below and work a second week. Each evening at 6 pm they scored neck and eye discomfort from 1 to 10, and we measured the desk with a tape, a protractor and a lux meter. The steps are in the order we would do them again, cheapest and most effective first.
1. Raise the screen to eye level
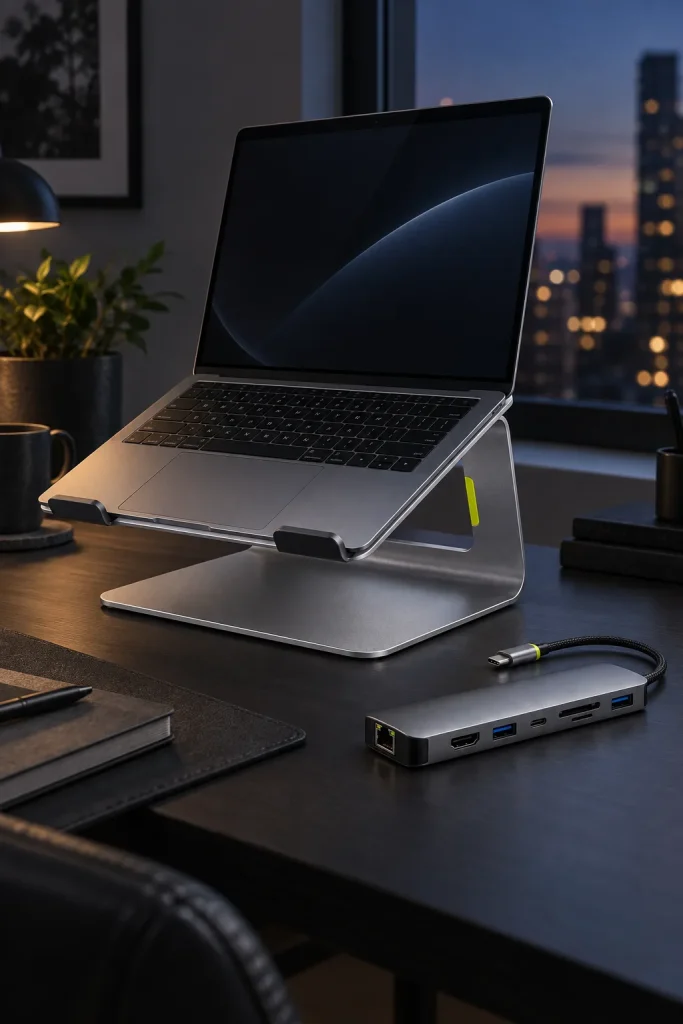
A laptop on a desk puts the top of its screen about 9 in above the surface, so you look down at roughly 30° all day. Your head weighs around 11 lb, and every degree you tilt it forward adds load on the muscles at the back of the neck. That is where most of the evening ache comes from, and it is the easiest thing on the desk to fix.
The rule of thumb: the top line of text should sit at or just below eye level, about an arm’s length away. On Riser, a 14″ laptop’s screen top moved from 9 in to 16 in above the desk, and the viewing angle on our testers dropped from 30° to about 10°. A stack of books does the same job; a stand is simply steadier, takes up less room and does not slide when you close the lid.
- Height: top of the screen at eye level or up to 2 in below
- Distance: 20–28 in from your eyes, roughly an arm’s length
- Tilt: the screen leaned back slightly, so it faces your eyes rather than your chin
If you also use an external monitor, the same rule applies to it, and the laptop on its stand becomes a second screen at the same height. Put the screen you read most directly in front of you and the other to the side, angled in, with their top edges level. Turning your head 30° to one side for hours is no better than looking down.
There is a side benefit we did not plan for. Riser holds the laptop at a fixed 25° with open air underneath, and during a 20-minute video export the underside of our test laptop ran 9 °F cooler than flat on the desk. The fans spun up later and stayed quieter on calls.
-
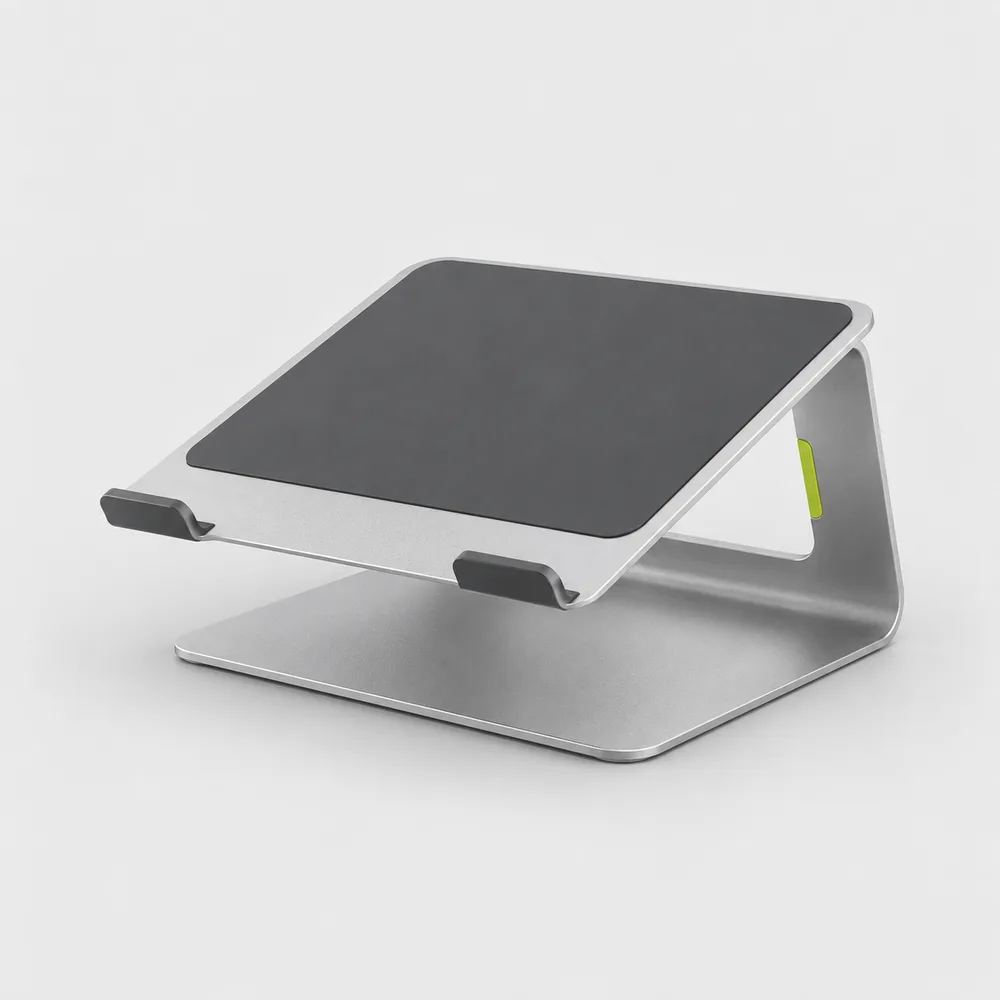
Shop the story
$49Ships in 1 business day
View: Riser
2. Light the desk, not the screen
Eye strain at a desk is rarely about the screen alone. It comes from contrast: a bright display in a dim room makes your eyes adjust every time you glance from the screen to a notebook and back. In the first week our testers’ desks measured between 60 and 140 lux in the late afternoon, about a third of what office guidelines suggest for reading and writing.
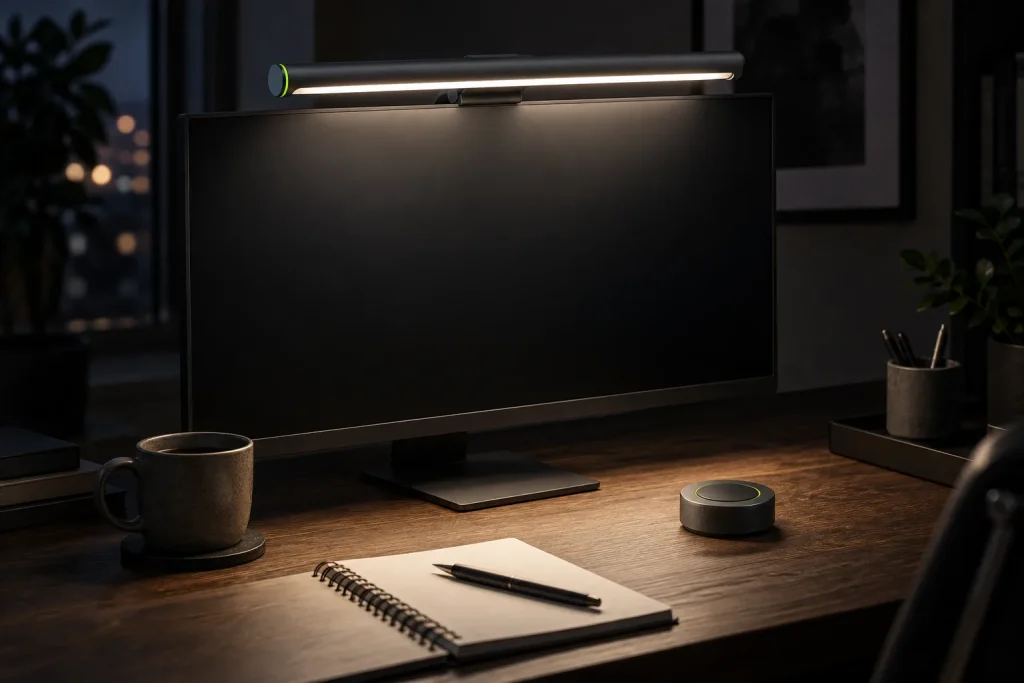
Two things help. First, put the desk side-on to the window, so daylight falls across the desk instead of behind the screen or straight into your eyes. Second, add a light that brightens the surface without bouncing off the display. A monitor light bar such as Halo sits on top of the screen and throws its light down and forward; it lifted the desk to 350–450 lux with no reflection on the panel. We spent a month comparing it with a classic desk lamp in our light bar review.
Then turn the screen down. Most displays ship at or near full brightness, which is right for a sunny office and too much for a home desk at dusk. Once the desk was lit, our testers set their screens to between 40 and 60 percent and stopped noticing the glow around the edges of the panel in the evening.
Whatever light you use, match its color to the time of day. Cooler white around 5000 K feels natural next to daylight; after sunset, a warmer 3000 K is easier to sit under for the last hour of email.
3. One cable to the laptop
A laptop that sits on a stand all day still leaves the desk several times a week: for a call in another room, a coffee shop, a trip. If coming back means plugging in a charger, a monitor, a network cable and a USB drive, you will leave it half connected and work on the small screen instead.
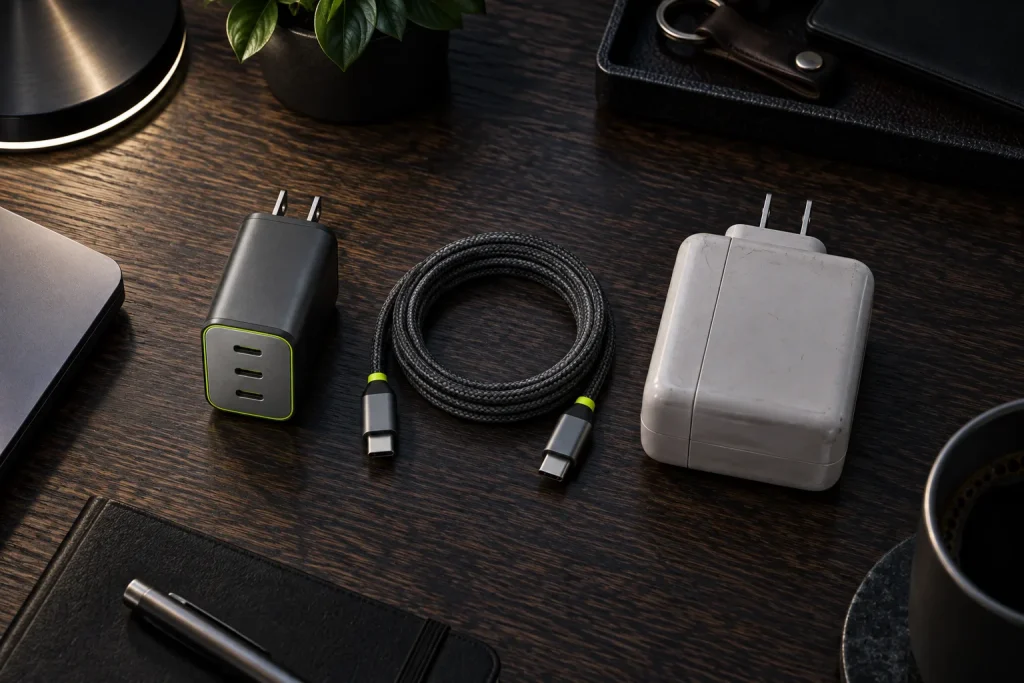
A USB-C hub turns all of that into one plug. Hub 8-in-1 carries a 4K monitor at 60 Hz, gigabit Ethernet, two USB-A ports, a USB-C data port and both card slots, and it passes charging through to the laptop. Plug your charger into the hub’s power input and the laptop charges over the same cable that carries everything else. With a 100 W charger the laptop gets up to 85 W; with a 65 W charger such as Brick 65, it gets about 50 W, which keeps a 13–14″ laptop charged through a normal working day.
We timed it. Reconnecting a laptop with four separate cables took our testers 40 seconds on average and was skipped about one day in three. With the hub it took 3 seconds and was never skipped. Wired Ethernet also helps more than people expect: on two of the four home connections, video calls dropped frames on Wi-Fi in the evening and stopped doing so on a cable.
“The best desk setup is the one you actually reconnect every morning. If it takes more than one plug, people stop bothering by Wednesday.”
Daniel Reyes, head of product
4. Bring the keyboard and mouse closer
Once the screen is at eye level, the laptop’s own keyboard is too high and too far away to type on. You need a separate keyboard and mouse, and where you put them matters as much as which ones you pick.
- Keep your elbows at about 90° and close to your sides, with the keyboard at or just below elbow height
- Center the letter keys, not the whole keyboard, in front of your body
- Put the mouse right next to the keyboard, so your arm does not reach out to the side
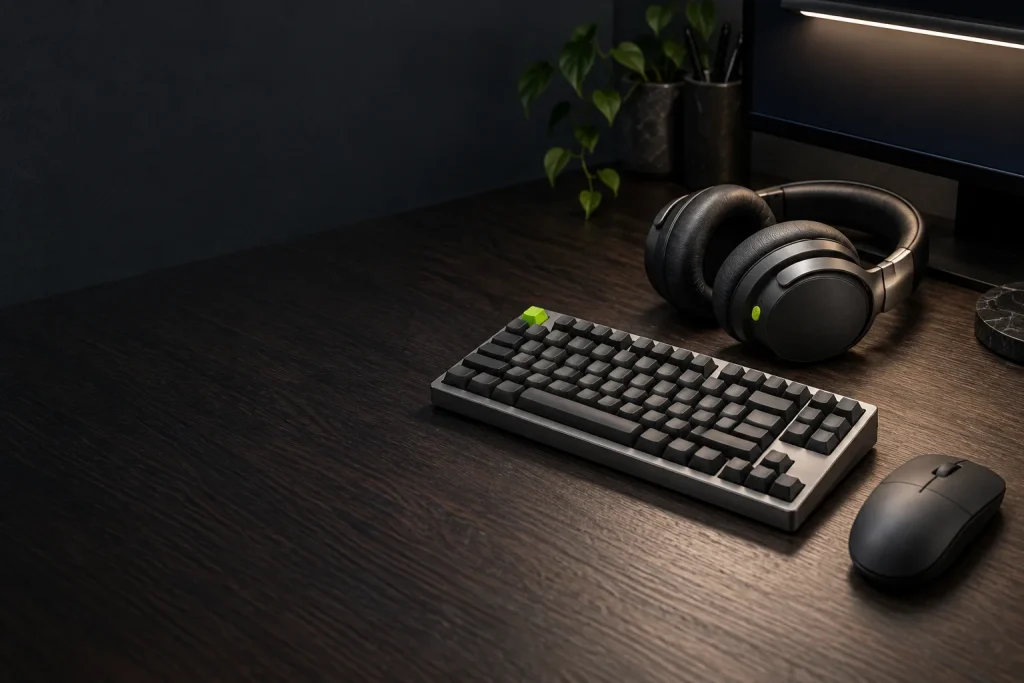
That last point is why we keep recommending compact keyboards for small desks. A full-size keyboard with a number pad pushes the mouse 3–4 in further to the right. Key75 keeps the arrow keys and the function row but drops the number pad, so the mouse sits closer to the center line. Our right-handed testers measured their shoulder reaching out 15° less. If you rely on the number pad, read our two weeks without one before you switch.
For the mouse, the shape matters more than the sensor. Glide fills the palm, so your hand rests on it instead of gripping it, and its quiet buttons are kinder to anyone sharing the room. Both connect to three devices, which helps if a work laptop and a personal one share the same desk.
5. Clear what is left
The last step is the one that makes the others stick. With the laptop on a stand, a hub beside it and a light on the monitor, you will have a few cables left: the charger, the monitor’s power, the light’s USB-C lead. Run them down the back edge of the desk, into a tray or along the leg, and keep the surface for the things you actually touch. We do it in one afternoon with a few ties in our cable guide.
Then look at what is on the desk and remove anything you have not used in a week. A clear surface is not about looks: it gives you room to pull the keyboard close, to write by hand and to rest your forearms, and it means the light falls on paper instead of on clutter.
| Measured | Week 1: laptop only | Week 2: five steps |
|---|---|---|
| Top of screen above desk | 9 in | 16 in |
| Viewing angle | 30° down | 10° down |
| Light on the desk, 4 pm | 60–140 lux | 350–450 lux |
| Time to reconnect the laptop | 40 s | 3 s |
| Neck discomfort at 6 pm | 5.5 of 10 | 2.5 of 10 |
| Eye discomfort at 6 pm | 5 of 10 | 3 of 10 |
Three of the four testers kept every change after the test. The fourth kept the stand, the hub and the keyboard, and went back to a floor lamp because the desk faces a bright window. That is a fair result: start with the screen height, which costs the least and changed the scores most, and add the rest as your desk asks for it.
3 responses
Author
Step one was the one for me. Raising the laptop screen to eye level fixed the neck ache I had blamed on my chair for a year.
Author
Does the hub work with a 1440p monitor at 144 Hz, or only 60?
Author
Hub 8-in-1 drives up to 4K at 60 Hz over HDMI, so a 1440p monitor runs at 60 Hz through it. For 144 Hz, connect the monitor to the laptop directly over USB-C or DisplayPort and keep the hub for everything else.
Comments are closed.